I detailed here how I created both my indoor and outdoor tortoise enclosures and her general care.
A few years on, Lenny’s enclosures were due some updates and maintenance to keep them as efficient and comfortable as possible and keep them looking their best.
Weather-proofing and Maintenance
Wood left outside requires weather-proofing, cleaning etc to preserve the life of the structure.
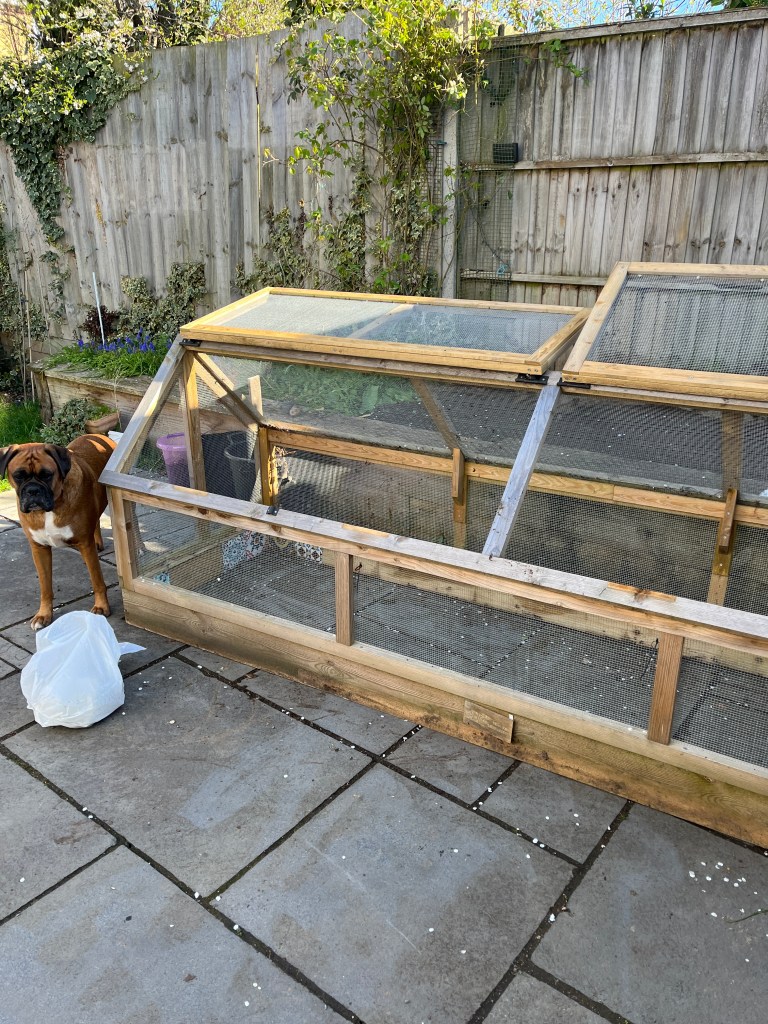
Therefore our first job was to lift the enclosure off the raised bed and weed the substrate. The previous owners of our house used the bed as a spring bulb area so things like tulips tended to pop up in Spring.
We did not know this when we created the enclosure in Summer, so this was a great opportunity to pull everything that was not tortoise safe up and out of the space.
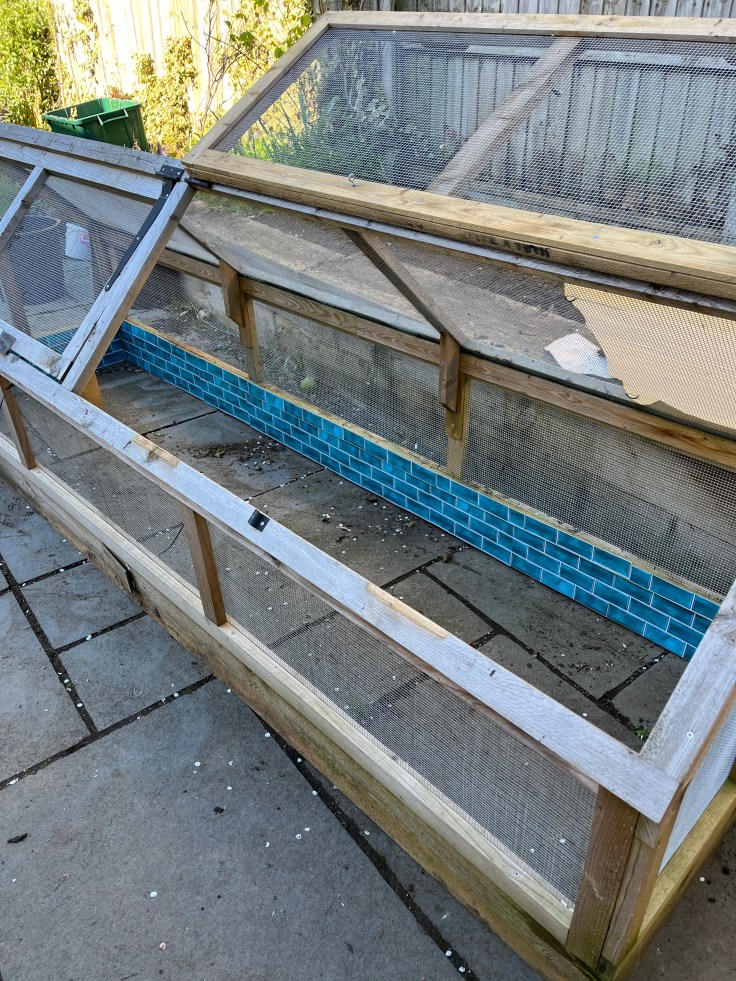
Next I cleaned the frame and removed the old tile decals I had stuck onto the bottom of the inside of the enclosure for both decoration and to protect the wood. These had not last well- they were cheap and so were peeling as they were not really designed for outdoor, reptillian use. I replaced them with vinyl tiles that will hopefully last much longer.
Painting
Next I used this weather-proofing paint that claims to last 10 years (that we will also use on many of our other wooden structures around our property this Summer) and I was very impressed by how well it went on and looked great after just 1 coat.

Rodent-proofing the outdoor enclosure
I belong to several tortoise forums and have heard some horrifying stories of rodents (rats) getting into tortoise enclosures and eating tortoises and this has worried me enough to do something about this to rodent proof Lenny’s enclosure,
As you can see Lenny’s enclosure is open at the bottom and placed on top of the raised bed so rodents could easily burrow under the substrate and into the enclosure.
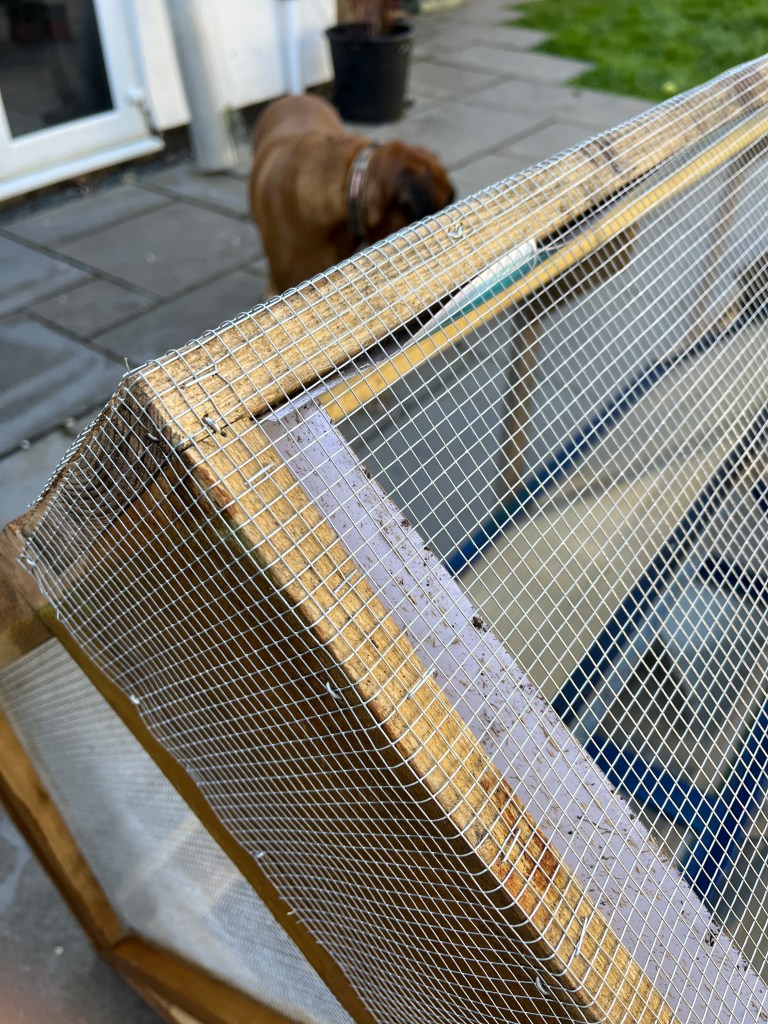
I used a sheet of 6mm aperture steel wire mesh to line the bottom of the enclosure.
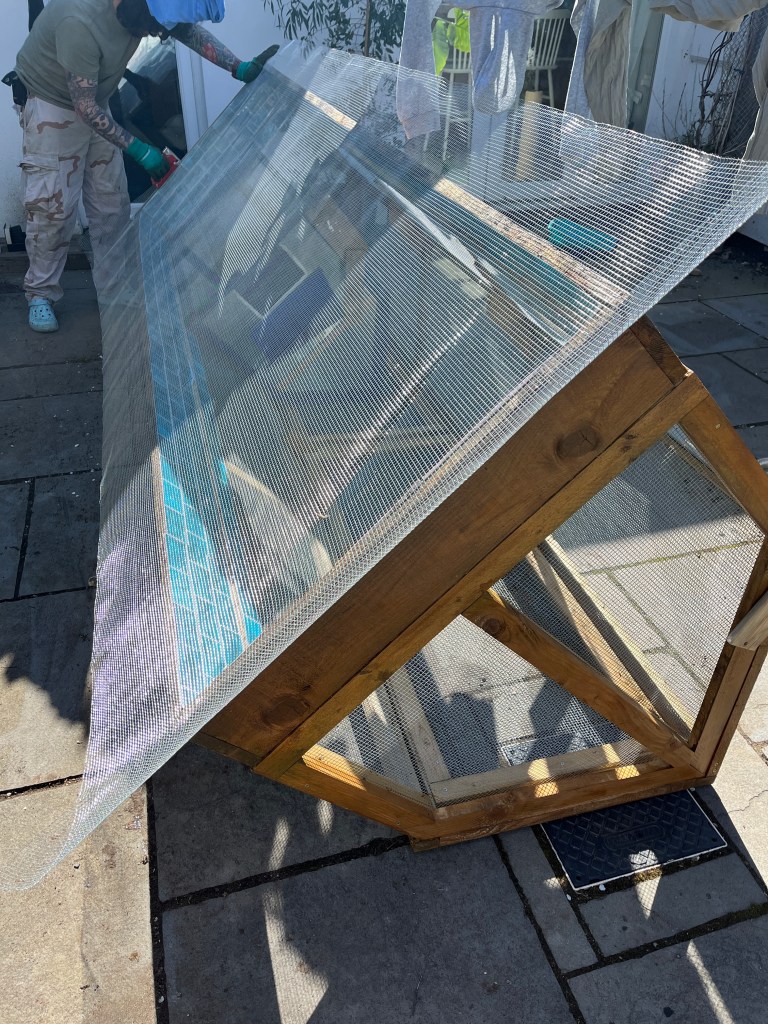
The mesh was then folded around the corners.
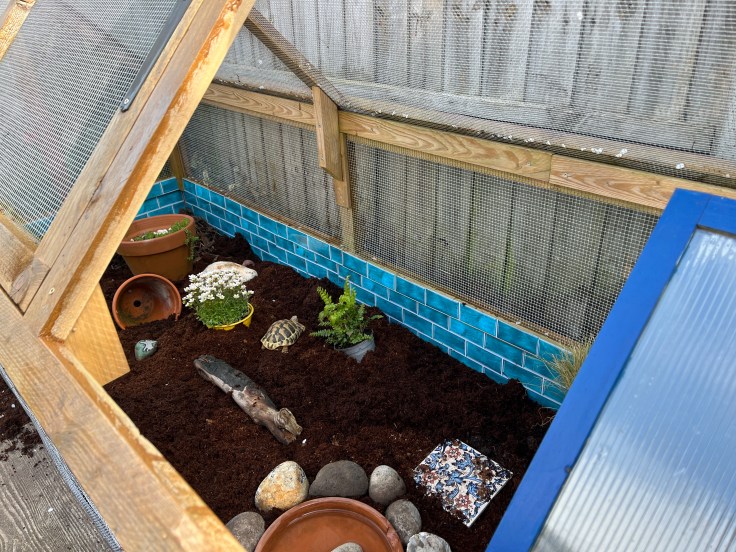
Finally, the enclosure was restored:
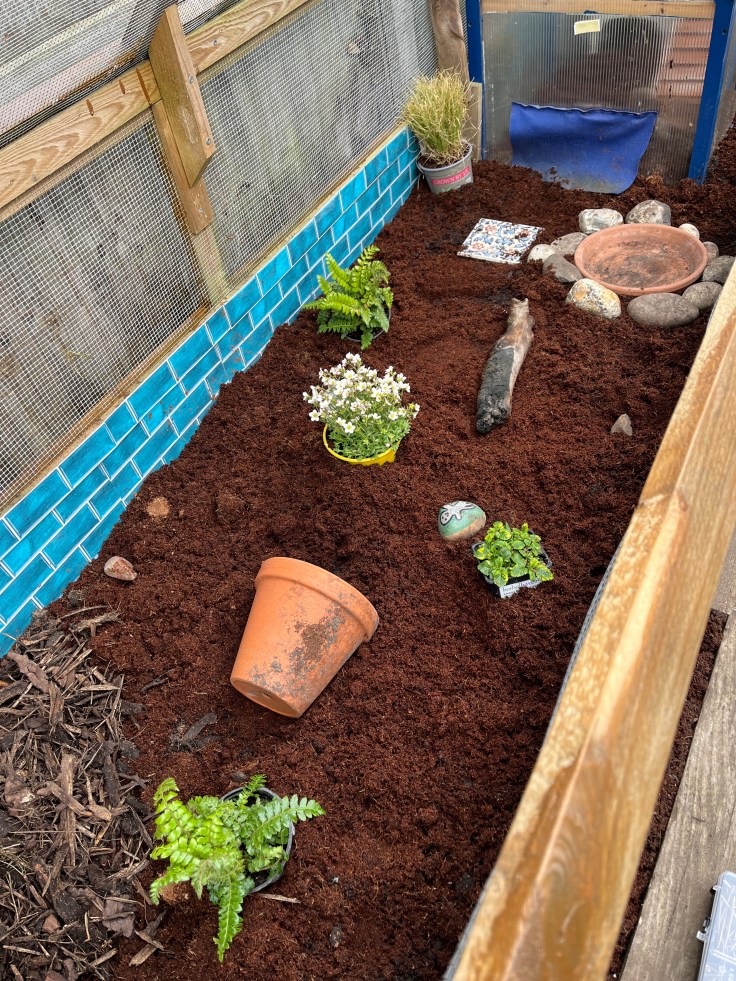
Substrate
In Lenny’s outdoor enclosure, I had just been using Organic topsoil. However, I only had two bags of this which was not enough. Because I use coco coir for her indoor enclosure, I simply topped up the top soil with coir. I also added some bark in a corner for some textural variety.
I added some ferns, lemon balm, and carex, etc – I always leave Lenny’s plants in their pots because I have to regularly swap them out because they just get destroyed so I take them out so they can grow and recuperate in my greenhouse and then are put back again. I added some rocks and sticks and Lenny’s summer house is ready to be enjoyed.
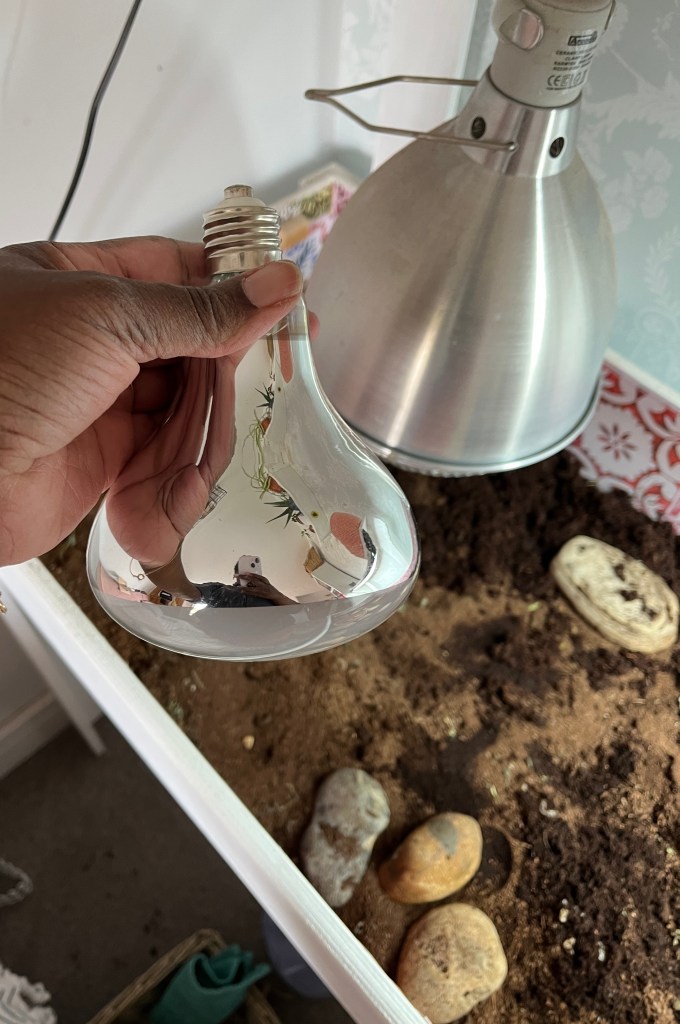
Indoor Updates
Lenny’s indoor table got a brand new basking bulb (manufacturer’s instuction is to change once a year) and a substrate refresh.


Leave a comment