In this blog post, I will detail how I made my DIY Tortoise/ small animal exercise/walking wheel.
I decided to make my tortoise an exercise wheel because all the ones I could find on the market were way too small for my tortoise and the whole thing was easy enough to make.
Below I have tried to include illustrative images for each stage or if you prefer, take a look at the video included below.
Materials I used:
Use the Amazon link provided below for any/all of the items listen and I receive a small commission, at no extra cost to you!
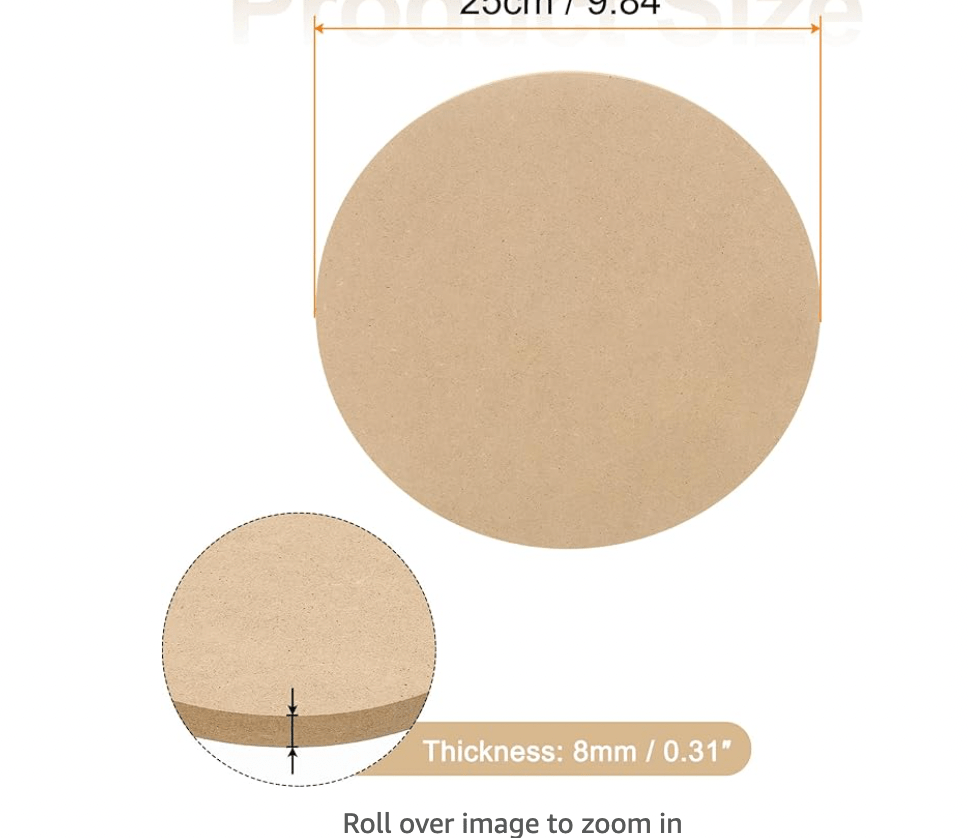
- 1x 25cm craft wood circles (includes 2 circles). https://amzn.to/42kGwNi
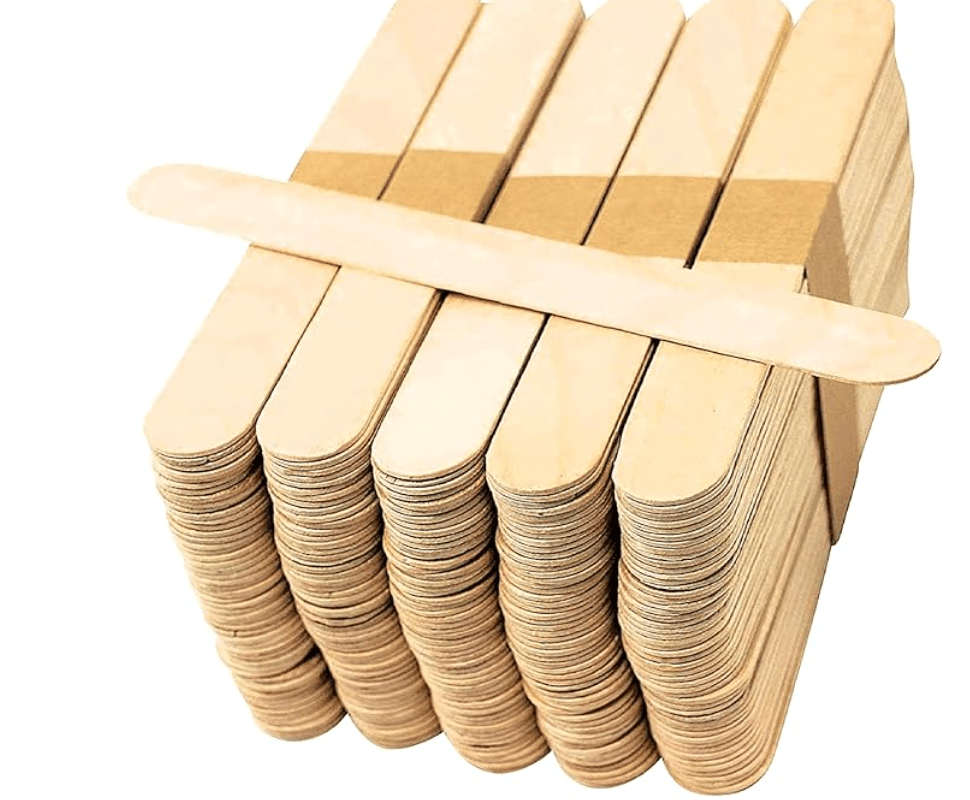
2. Pack of 50 craft sticks: (yes, I used them all. I bought an extra packet just in case but 1×50 should be sufficient.) https://amzn.to/4hj4RYb
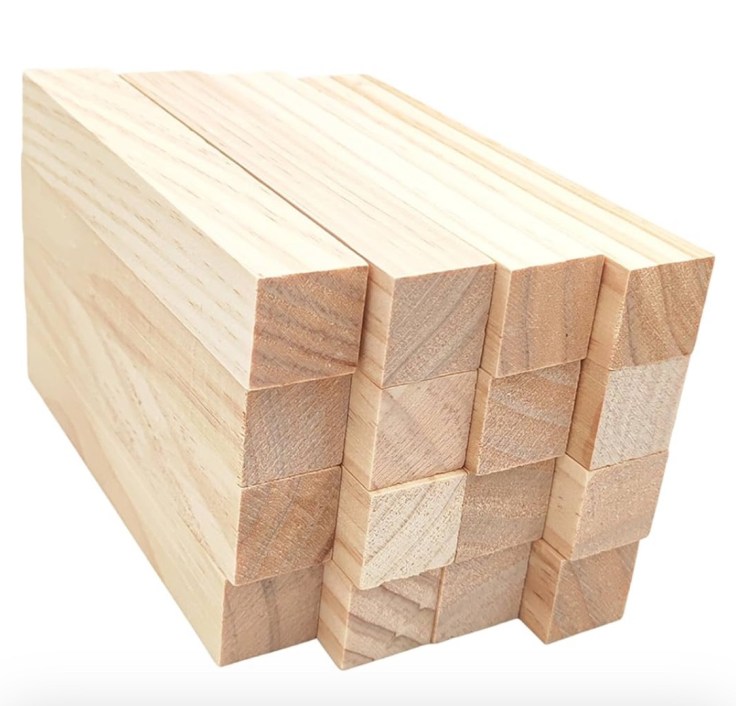
3. 15cmx2.5cm wooden blocks. 16 blocks in the pack – I used them all (initial 4 split when I first tried to drill a hole through them so were discarded. https://amzn.to/4gctR2q
4. 20cmx20cm plywood sheets. Packet includes 15 sheets. I used a few of these and having these sheets around is always useful for projects so a great investment in my household. https://amzn.to/3PJm7dg
5. 15mmx30cm Wooden dowel rods for axle. (5 rods in set). https://amzn.to/3E4m8Gj
6. Dark Oak varnish https://amzn.to/42sAuKu
7. 1x 16mm aperture ball bearing in a flange (that could be bolted into the middle of the wheel for smooth movement.) I bought this one from Bolton Engineering.
Sundries
8. Wood glue.https://amzn.to/4hkvfkh
9. Multipurpose glue
10. Nails, hammer, wood saw, vice, sanding paper, screws, 2x L brackets, screwdriver.
Making your tortoise wheel step by step:
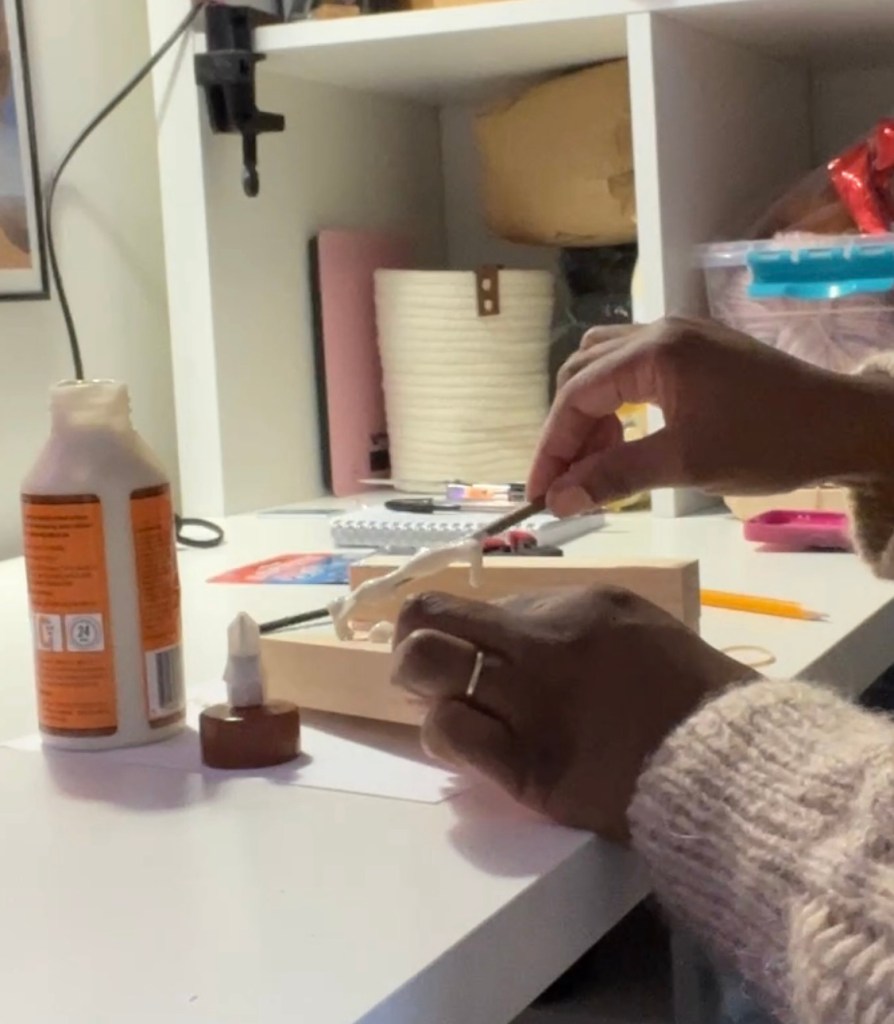
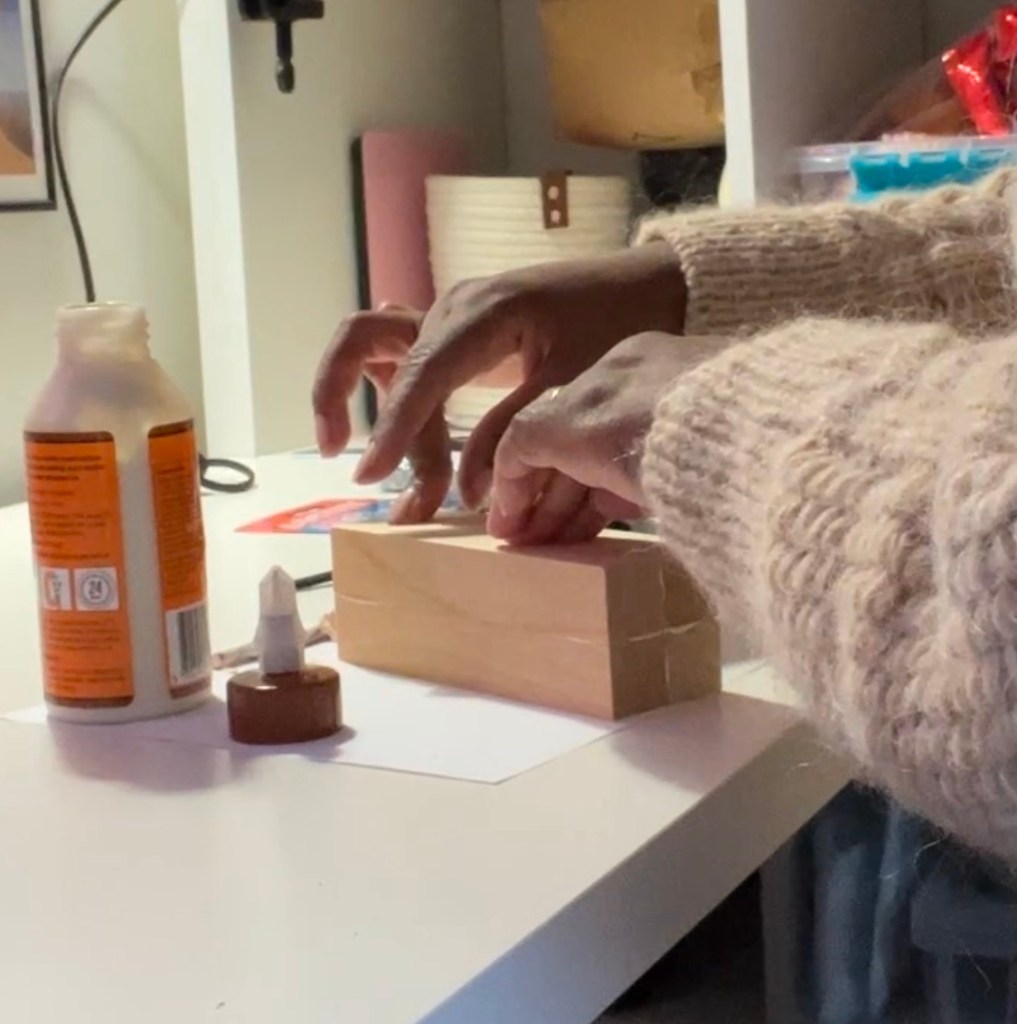
Step 1. I wanted the wheel to rest on a sturdy buttress so I used Wood glue to glue 4 of my blocks together to make one column. I did this twice, the first time using super glue, but I ended up splitting the wood when I began drilling through it so repeated this step using wood glue
Step 2
Line every thing up to make sure everything was to plan:
I used a piece of paper to measure out my tortoise, as the wheel would be custom made to his size.
My idea was to have a wooden axle through a buress, then on the other side of that, a 1.6mm aperture ball bearing mounted onto the spinning wooden disks. I would then glue wooden sticks along the outside of the disk to create the right size platform for my tortoise to walk on.
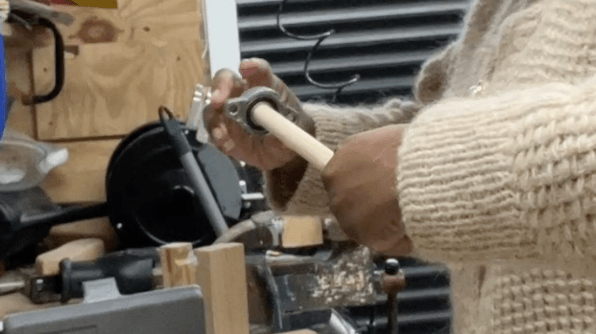
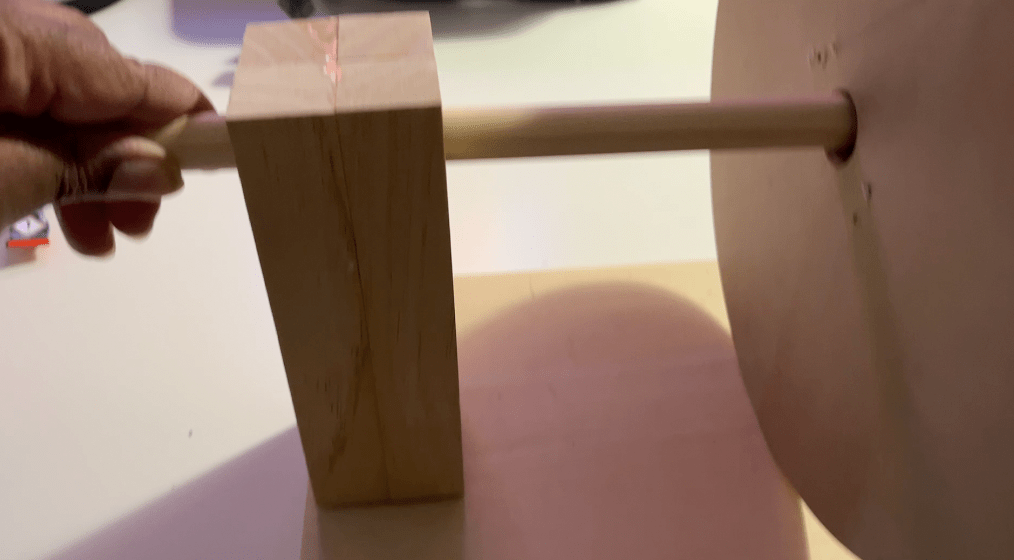
Aligning my wooden “axle” to my ball bearing.
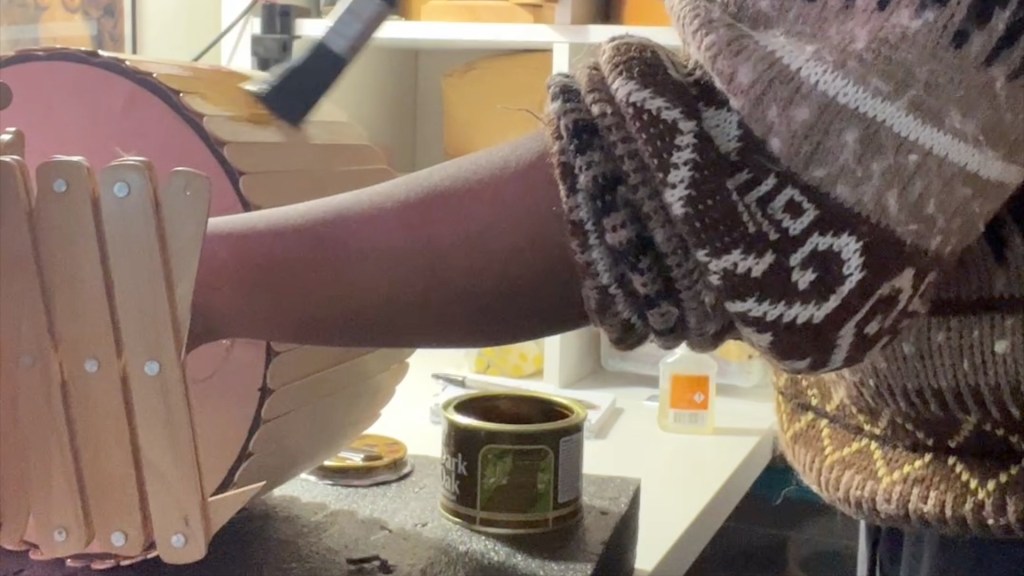
Step 3
I had to sand my wooden axle down quite a lot in order to ensure it fit snuggly in the hole in the ball bearing that would go in the centre of the wheel.
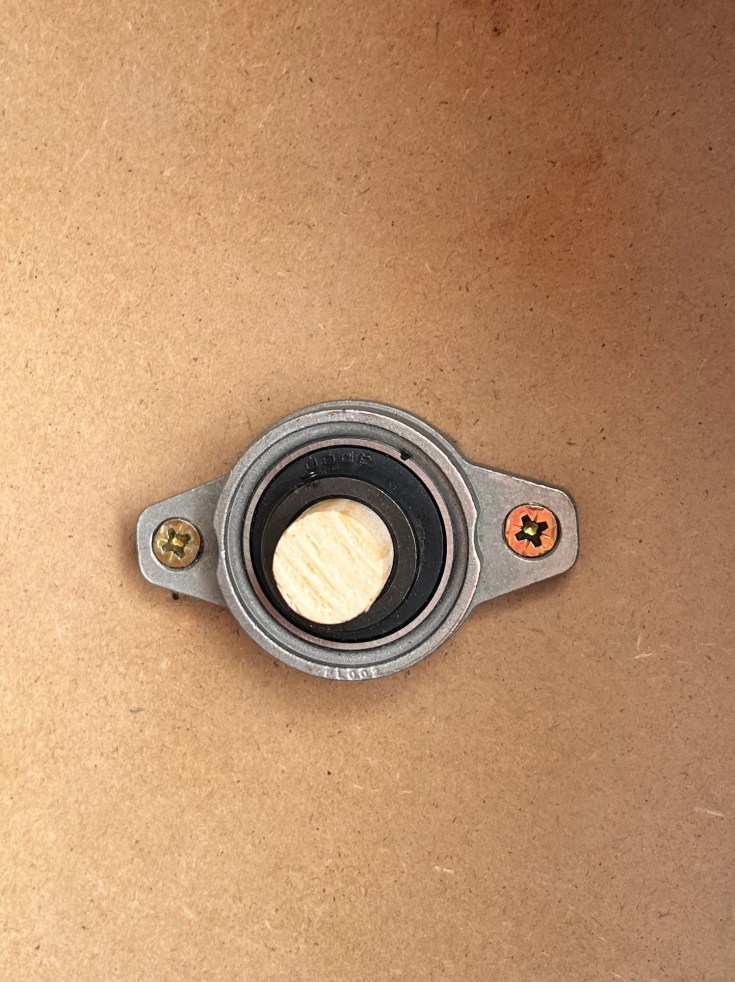
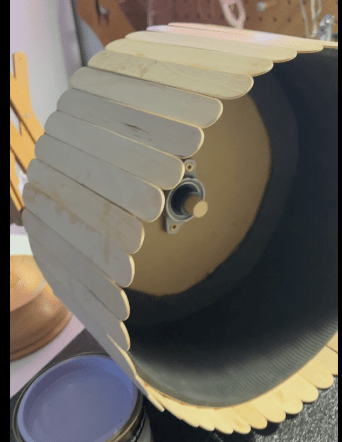
Next I drill a 16mm hole in the middle of the wooden disk, where I would bolt the ball bearing and put the axle through.
Next I drilled a 16mm hole at the top of the butress to thread the axle through, for stability.
For both, as I did not have a 16mm diameter drill bit, I did this by first starting with tiny a pilot hole in the centre of the circle, and then drilled through the same spot, gradually increasing the drill bit.
Step 3
Glue the butress to the bass.
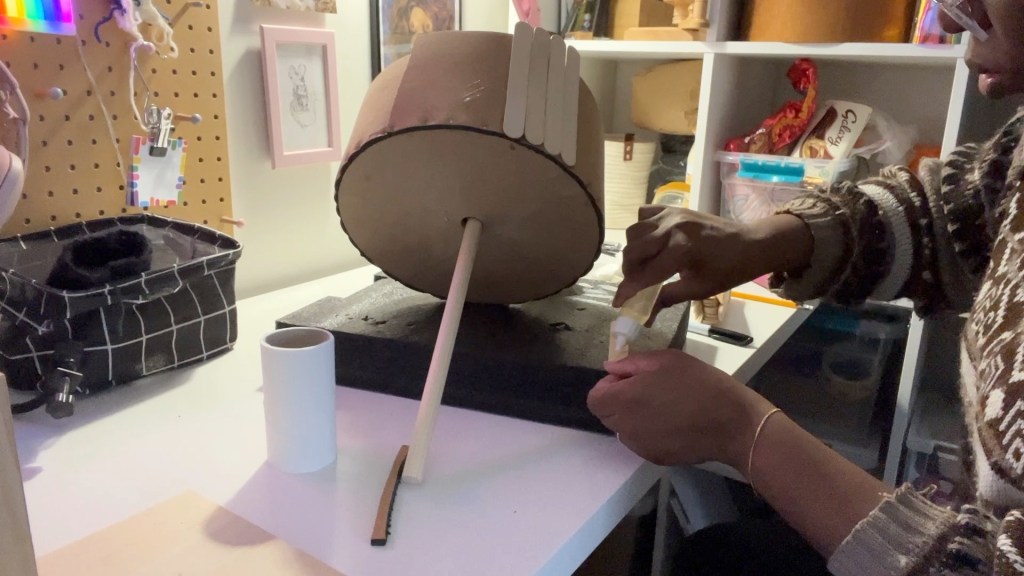
Ending up with this (back view):
Solving the problem of height and clearance
Step 4
At this point, as you can see in the image above, there was not much in the way of clearance between the wheel and the base, and I also needed to add the inner “runner” for my tortoise to walk on so I needed to add height to the butress.
This was done by simply adding more wood between the bass and the butress. .

Step 5
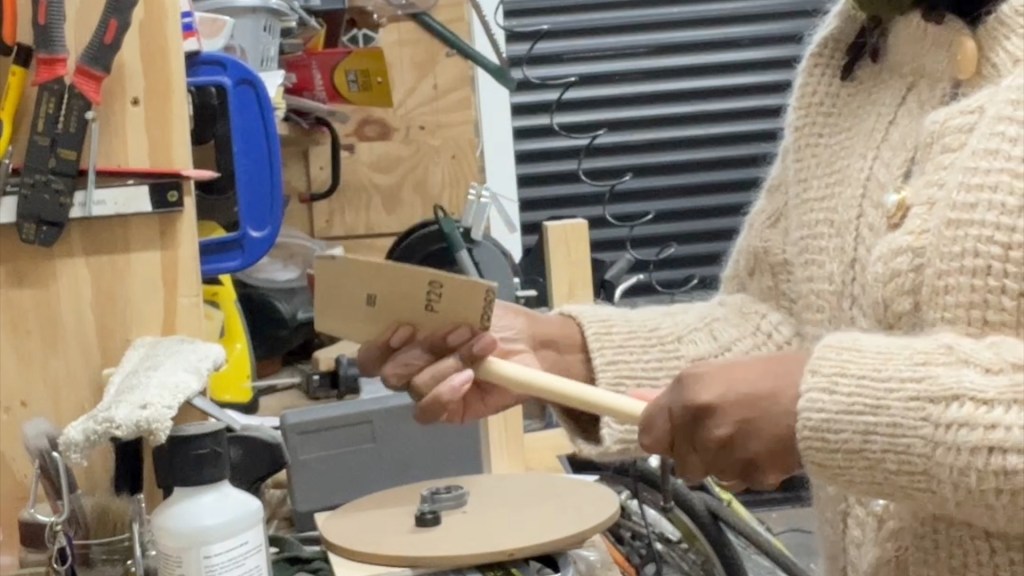
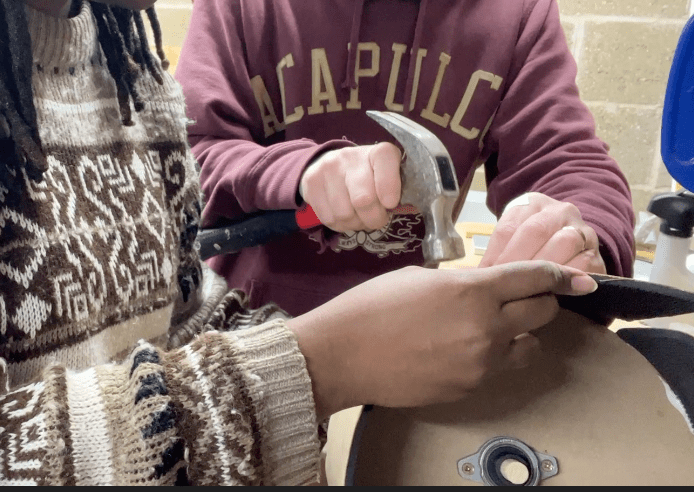
I had difficulty sticking the flat wooden lolly sticks to the disk, so my husband graciously suggested I use some offcuts of a guitar amp mat that we had lying around. It is simply a thin foam mat that has cork on one side and a grippy black rubber on the other side.
Using the cork backing for the outside and the black rubber for the inside, we nailed down a 12cm strip of backing onto the edge of the disk.
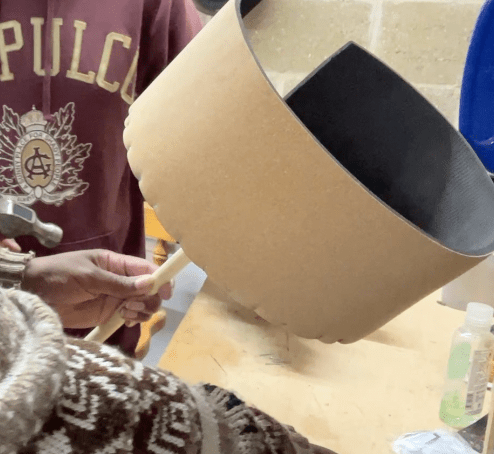
Step 6
Next the wooden sticks were stuck onto the foam backing to make it more sturdy.
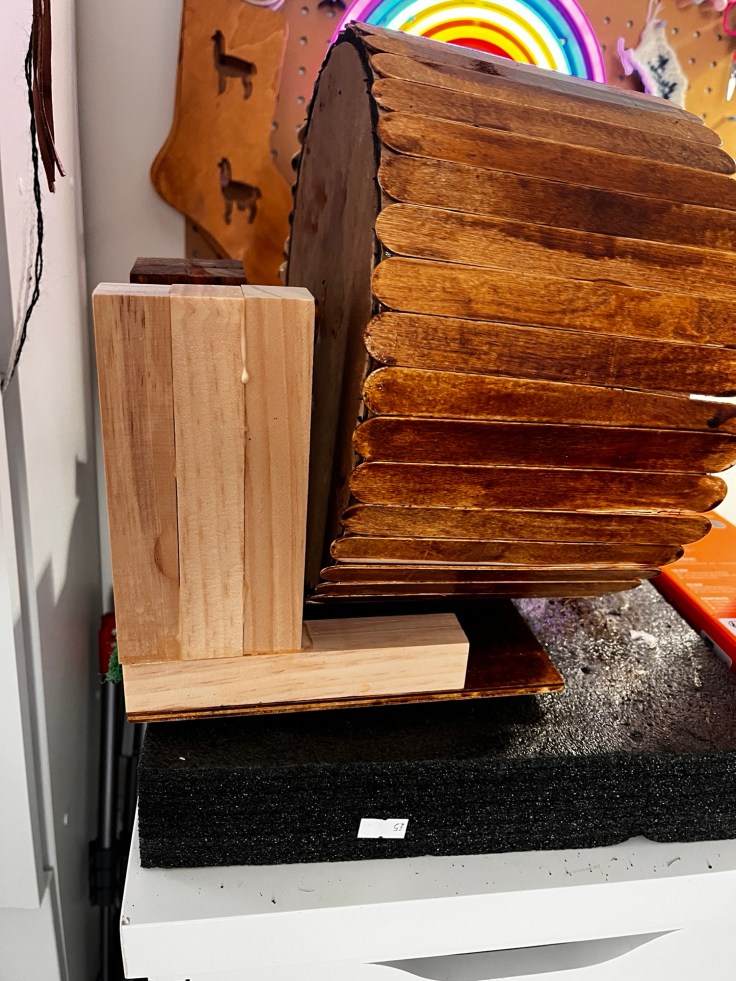
Step 7
Paint. I bought some simple wood varnish to protect the wheel and add a little colour.
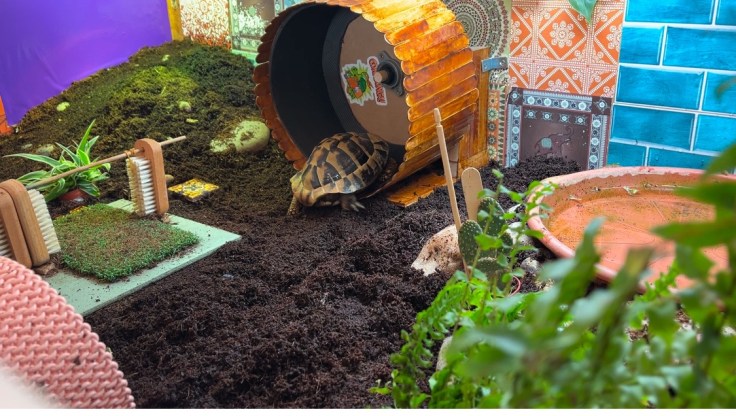
Tortoise Beta Testing
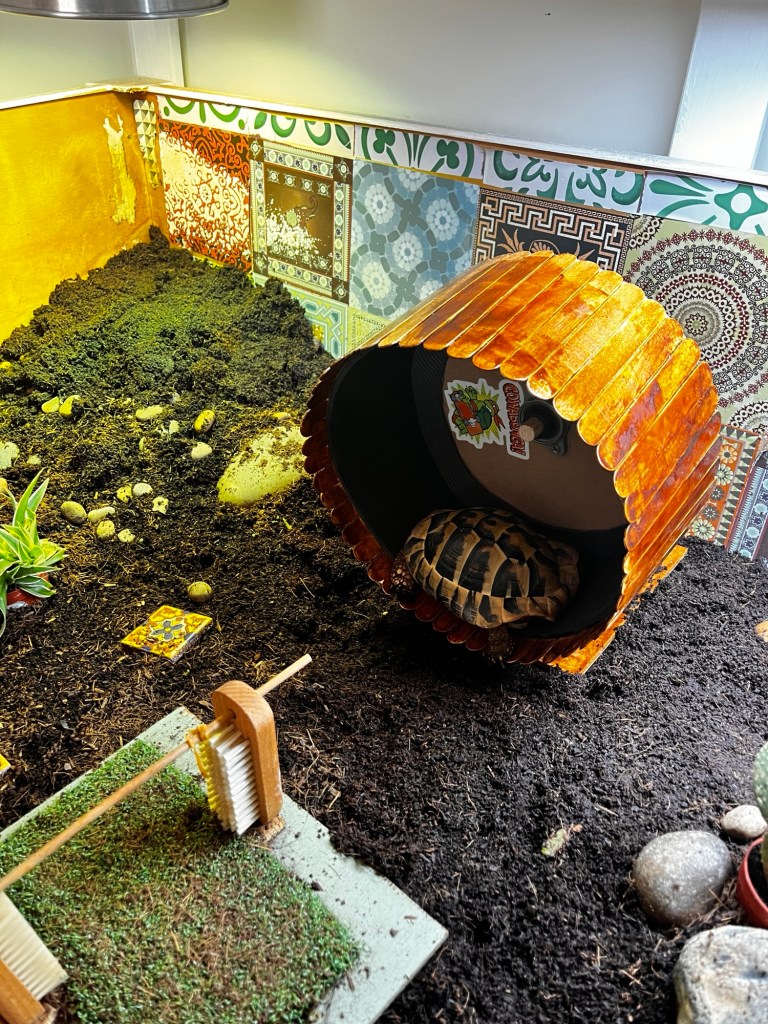

Then it was time for the wheel to be tested by Lenny, on his table. It worked well, despite the slight wobble of the wheel during revolutions, as I failed to completely centre the ball bearing within the circle.
However, the issue I found was that Lenny kept trying to climb behind the wheel, or kept trying to wedge himself between the wheel and the base. Far from ideal so I needed to find a solution to prevent this, for safety.
Step 8
Building a wall
I used the remaining blocks to build a wall to encase the back of the wheel to prevent Lenny from climbing behind and under the wheel.
I painted this to match the rest of the wheel, and secured in place to the wall of the table using the L brackets.
And voila! All done.
Accompanying video, and please subscribe to my YouTube channel Tort Garden to follow Lenny’s adventures!

Leave a comment